Showing posts with label Christmas. Show all posts

Saturday, December 8, 2018

DIY Cute Animal Terrarium Christmas Ornaments

Kids Crafts: Cute Animal Terrarium Ornaments
These ornaments are simple and fun to make! The base is a moss or dried grass 'nest' with a cute animal and fun holiday accessories.  Let your imagination run wild!

Supplies:


Clear plastic fillable ornament balls, Raffia, Dried Moss, Decorative Dried Grass, Colored Bells, Tiny Colored Ornaments, Tiny Toy Animals, Hot Glue Gun

Construction:

Step 1: Make the base of the terrarium.  
Use a clump of dried grass and gently squish with your fingers to create a little 'nest.'  Check how it fits into the ornament; remove or add grass if needed to get a snug fit. 


Step 2: Add your animal and bulbs to the nest.


Step 3: When you are happy with how your animal and bulbs are set up, use the hot glue gun to attach them to the nest.

Step 4: Use a small amount of hot glue to glue the nest into one half of the ornament, then gently close the ornament around the nest.    


Step 5: String a bell onto a piece of raffia.  

Step 6: Thread the raffia through the ornament, then add a second bell


Step 7 (optional): Add a second piece of colored raffia

Step 8: Tie a knot with the raffia 

Step 9: Tie a square knot with the raffia to create a loop to hang the ornament.

Step 10: Tie a bow! All done!


For the Iguana ornament, I used the same general steps, but added extra dried moss to the nest for extra pizzazz.  


Thursday, November 30, 2017

Kids Crafts: Hedgehog Pine Cone Ornaments!

Kids Crafts: Hedgehog Pine Cone Ornaments!

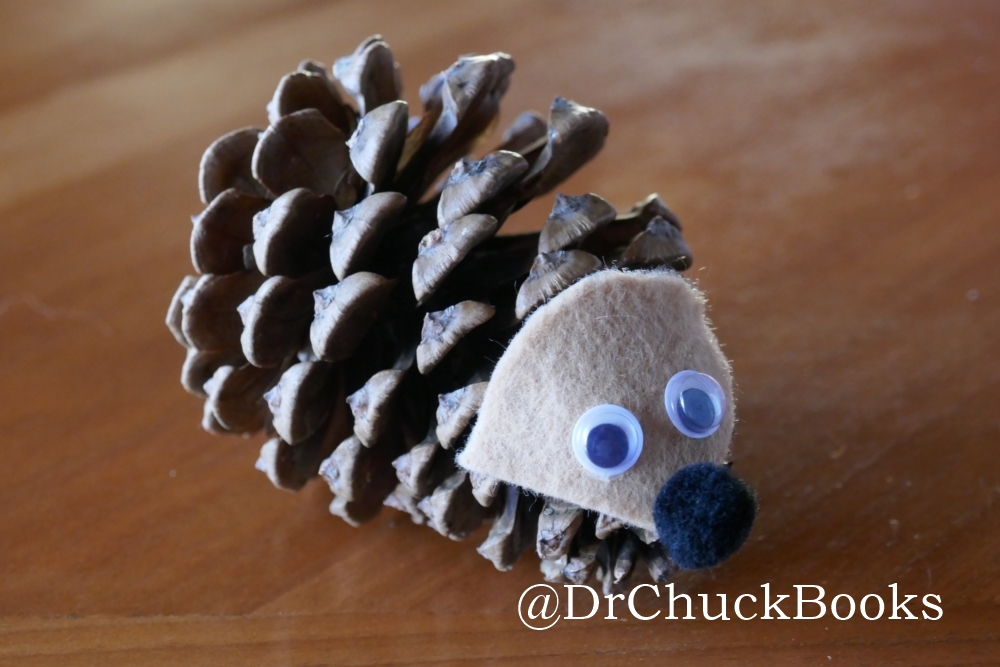
Looking for a fun winter craft for the family? These adorable little hedgehog pine cone ornaments are fun to make and delightful to look at! Inspired by a simpler version posted here.


Supplies: 


-Pine cones!
-Felt
-Twine/string/ribbon
-Googly eyes
-Crafting pom poms (for the nose!)
-Puff Paint (3D or Dimensional paint, usually used for T-shirts)
-Hot Glue Gun (parents only!)
-Craft Glue

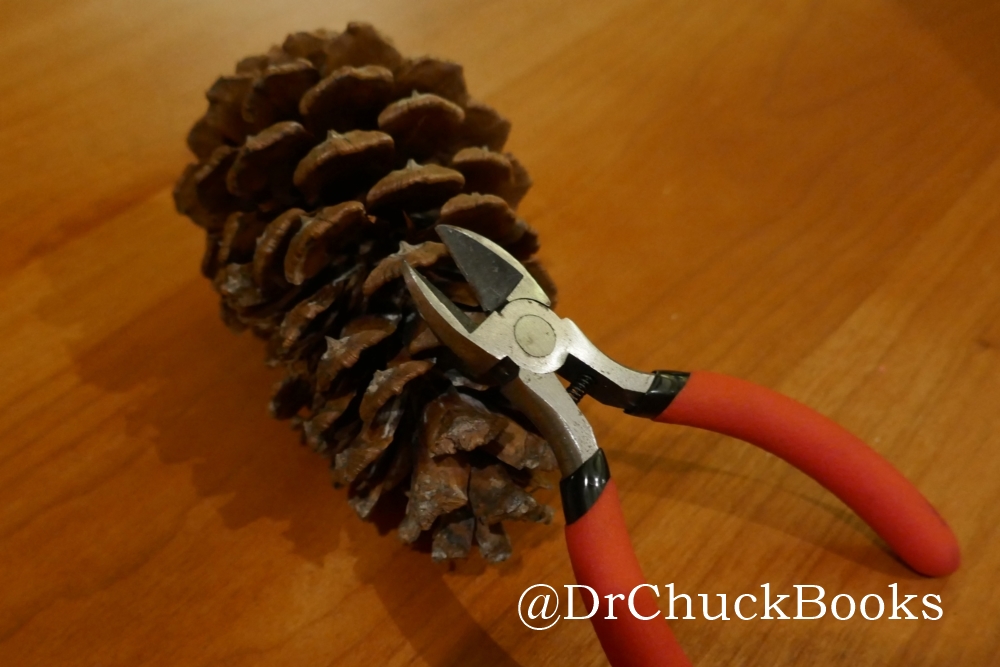
A note of caution before we proceed: Like a hedgehog, pine cones can be very pointy! I actually used a wire cutter to trim down the sharp points on the pine cones I used. 


Part 1: The Face

1)-Cut out a quarter-circle of felt.  This will be the hedgehog's face!


2)-Parents: Glue the felt to the end of the pine cone with hot glue. 
(Hot glue works best here because there isn't a lot of surface area on the pine cone scales to glue; tacky glue can work but not as easily or consistently).


3)-Use craft glue to glue on the googly eyes and cute little pom pom nose!


Part 2: The Twine

1) Cut a length of twine (or your ribbon of choice) about 8-12 inches long.

2)Wrap the twine around the pine cone closer to the 'back' (away from the face) and make a knot against the pine cone.  Lift up the pine cone by the twine - it should stay level. If the front or back of the pine cone tips down adjust the twine towards that side until it is leveled. 


3) Use the two loose ends to tie a square knot a few inches above the pine cone.  Trim the ends.


Part 3: The Spikes

1) Use puff paint to put 3 dots on each scale and a row of dots along the top of the face. Be careful not to touch the puff paint until it dries! This is difficult, as your hedgehog pine cone is very adorable!


Part 4: Repeat

1) Repeat the above steps to make your hedgehog more hedgehog friends!